 FREE DELIVERY $180+ AUD
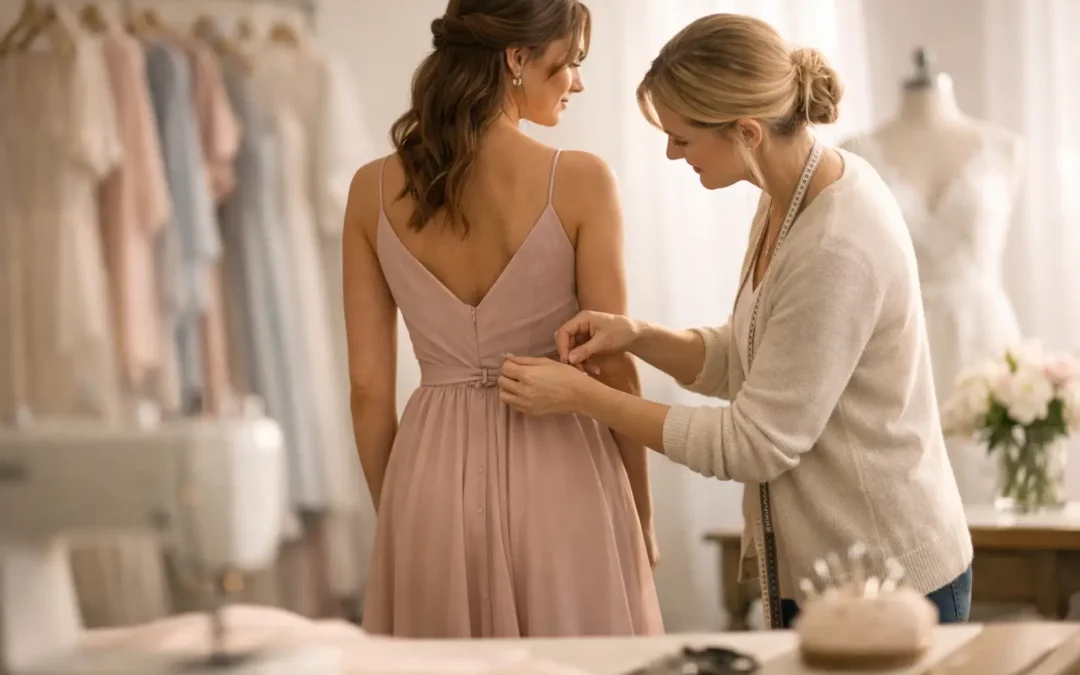
A bridesmaid dress can look beautiful on the hanger and still need a few thoughtful adjustments before the wedding. These bridesmaid dress alterations tips will help you plan the process with less stress, so your dress fits comfortably, photographs beautifully and lets you enjoy every part of the celebration.
Start Alterations Earlier Than You Think
The best time to book an alteration appointment is soon after your dress arrives, ideally six to eight weeks before the wedding. This gives your dressmaker enough time to assess the fit, order matching materials if needed and make careful changes without rushing. If the wedding falls in a busy period, such as spring or the lead-up to Christmas, book even earlier.
Avoid leaving fittings until the final fortnight. A simple hem may be possible at short notice, but strap adjustments, reshaping a bodice or working with beading, lace and layered skirts can take more time. Early fittings also leave room for a second appointment if a small refinement is needed.
If you are actively changing your weight, be honest with your dressmaker about your timeline. Significant alterations are usually best left until closer to the date, but do not wait so long that there is no time to correct the fit. A dress that is slightly roomy can often be taken in; letting a dress out depends on whether there is enough seam allowance in the garment.
Bring the Right Pieces to Every Fitting
Your hemline, bust fit and overall silhouette can change dramatically depending on what you wear underneath. Bring the exact bra, shapewear and shoes you plan to wear on the day to each fitting. If you have not chosen your shoes yet, select them before the first hem appointment. Even a few centimetres of heel height can make the difference between a polished floor-length skirt and one that catches underfoot.
Wear any accessories that affect the neckline or straps, too. For example, a strapless bra may sit differently to adhesive cups, while a low-back solution may change how the bodice rests against your body. The goal is to alter the dress around your finished outfit, rather than making decisions based on stand-in pieces.
It is also useful to bring your wedding-day underwear in a small bag. That way, nothing is forgotten when you are juggling work, errands and wedding planning.
Prioritise Fit in the Bodice and Shoulders
A perfectly fitted bodice makes the biggest difference to how a bridesmaid dress looks and feels. It should sit smoothly without gaping at the neckline, digging into your ribs or shifting every time you lift your arms. You should be able to take a deep breath, sit down and hug someone comfortably.
Straps are one of the most common and straightforward alterations. Shortening them can lift the bust and stop the neckline from falling forward, but they should not be tightened so much that they pull the fabric at the underarm or restrict movement. If your dress has delicate spaghetti straps, ask the dressmaker to check the strength of the stitching as well as the length.
For dresses with boning, cups or a structured corset-style top, small adjustments can have a major effect. Taking in the side seams may improve the waist but can also change the placement of bust cups. An experienced dressmaker will assess the whole bodice rather than simply pinching fabric at one point.
Consider Bust Support Before Altering the Neckline
If the dress lacks enough support, sewing in cups may be a practical alternative to finding a complicated bra. This works especially well with fitted gowns, low backs and thin straps. It does depend on the dress fabric and your preferred level of support, so discuss it at your fitting rather than assuming cups will suit every style.
Neckline changes are possible, but they are rarely a quick alteration. Raising a plunging neckline, reshaping a halter or converting a strapless dress requires matching fabric, careful construction and a realistic budget. If modesty or coverage is a concern, a tailored wrap, matching shawl or discreet panel may be the simpler option.
Bridesmaid Dress Alterations Tips for the Perfect Hem
Your hem should work with the wedding setting, your shoes and how you will move through the day. A full-length bridesmaid dress generally needs to skim the top of your shoes, rather than puddle on the ground. A hem that is too long can be stepped on during photos, on stairs or while dancing, while a hem that is too short can look unbalanced in formal group photos.
Ask the dressmaker to pin the hem while you stand naturally. Then walk, turn, sit and take a few steps as though you are climbing stairs. This is particularly helpful for dresses with a train, high split or multiple layers. The outer layer and lining need to sit properly together, and a split should fall where it was designed to fall.
Do not assume every long dress needs the same hem measurement. A flowing chiffon skirt may sit differently from a fitted satin gown, and a dress with a curved hem can need more detailed work than a straight one. If the wedding ceremony is on grass, sand or uneven ground, it may be worth discussing a slightly more practical length.
Keep the Original Details Where Possible
Lace edging, beading, pleats and horsehair trim can make hemming more complex and more expensive. In some cases, the dressmaker may need to remove and reapply details to preserve the original finish. This is worth doing for a special dress, but it is helpful to understand the cost before committing.
For a dress with a high-low hem or a detailed border, ask whether shortening from the waist is a better option. It is not suitable for every design, but it can preserve a decorative hemline when done correctly.
Think About Movement, Not Just Mirror Photos
A fitted dress can look stunning in a still photo, but a wedding day involves standing for long periods, walking between locations, sitting through speeches and spending time on the dance floor. At your fitting, test the dress properly. Raise your arms, sit on a chair, walk at a normal pace and try a gentle dance movement.
If a skirt feels tight across the thighs or pulls at the back when you sit, ask about adding a small split, adjusting the seam or inserting a modest gusset. These changes are not always necessary, but comfort matters when you will be wearing the dress for hours.
For dresses with thin fabrics, check whether the lining is sitting flat and whether underwear lines show under natural lighting. A good alteration should enhance the dress without making it look overworked. Sometimes the right undergarments solve an issue more effectively than further tailoring.
Do Not Make DIY Changes to Delicate Dresses
A loose strap or a slightly long hem may seem like an easy fix at home, but special-occasion fabrics can be unforgiving. Satin can show pin marks, chiffon can shift while sewing, and sequins or beading need careful handling. DIY work can also affect the garment’s shape and make professional repair harder later.
If you need a minor emergency repair, such as a loose hook or small thread, use a trusted local dressmaker rather than experimenting the night before. Keep a few simple supplies with the bridal party on the day: fashion tape, a small sewing kit, safety pins, stain remover wipes and blister patches. These are for quick fixes, not substitute alterations.
Plan for the Final Fitting and Collection
Your final fitting should happen close enough to the wedding that the fit reflects how the dress will sit on the day, usually one to two weeks beforehand. Wear the complete outfit again, including shoes and underwear, and check every fastening. Make sure the zip moves smoothly, hooks are secure and the hem is clean.
When you collect the dress, ask how it should be stored and transported. Hang it carefully in a breathable garment bag if the fabric allows, keeping it away from food, makeup and curious pets. If you are travelling, carry it with you where possible rather than packing it tightly into checked luggage.
A bridesmaid dress should feel like a lovely part of the day, not something you have to keep adjusting. Choose a style you feel good in, allow time for skilled alterations and give yourself permission to prioritise comfort. When the fit is right, you can focus on supporting the couple, enjoying the photos and celebrating with confidence.
